Date: 14.02.2010
Thema: PVC Scheinwerfer Reinigen ,Reparieren
----------------------------------------------------------
Hallo zusammen
hab was interessantes gefunden wollte es mit euch teilen
op das stimmt
hat jemand schon mal sowas gemacht
ist aber auf englich
*Disclaimer: Headlight UV protection may be ruined as a result of sanding/wetsanding. Improper use of the materials involved can result in permanent damage to the headlight. Please use caution and attempt this process at your own risk.
*Only use sanding/wetsanding as a last resort if there is no other option for the headlight. Always start out with the least aggressive method which would be polishing by hand or even by maching without wetsanding.
*Best strategy is to get a junk headlight and pratice on that, then duplicate the process on your own headlight. I used my brother Focus lights as practice.
Well, I've got another little write up. I reconditioned my headlight today and thought I'd share the process.
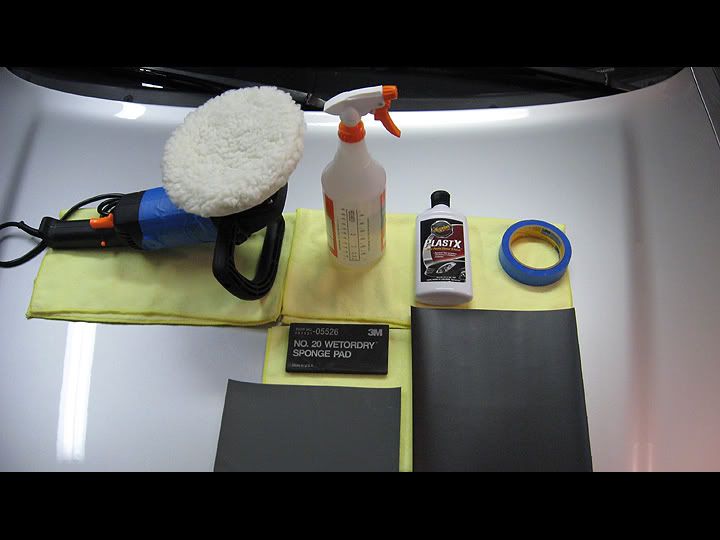
Products used:
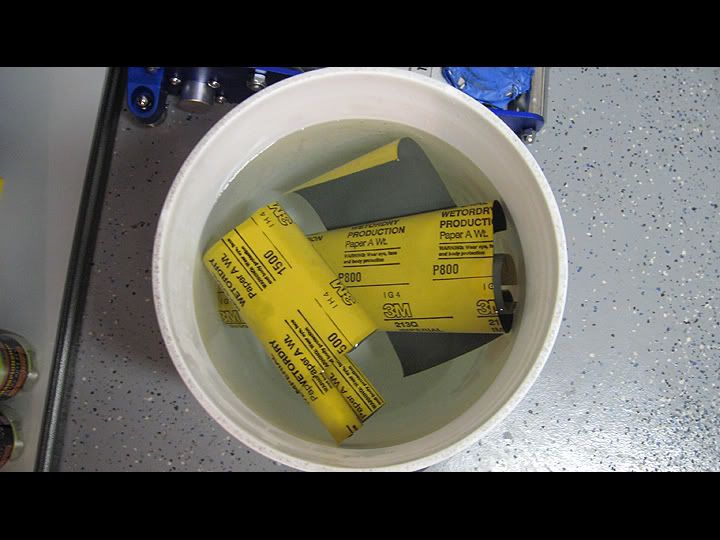
3M wet/dry sandpaper,
350 grit(dry)
800 grit
1200 grit
1500 grit
2500 grit
CE Rotary polisher w/wool polishing pad
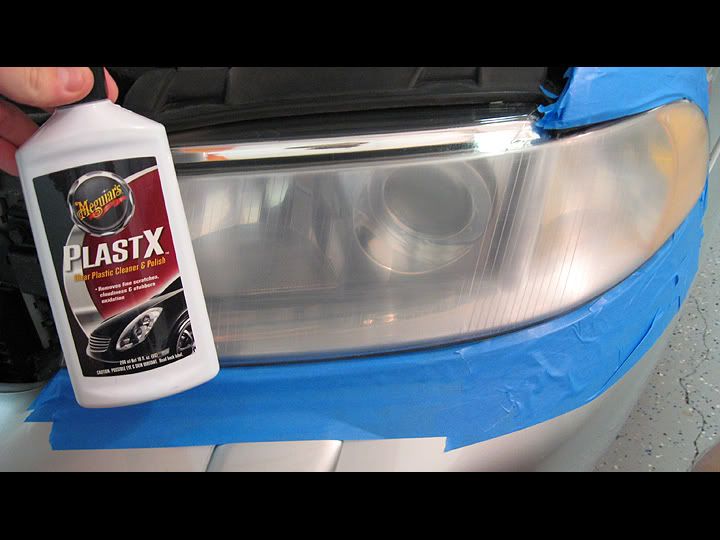
Plast X
5 gallon bucket
spray bottle with water and 10% detail spray
3M sponge pad
Painters tape
microfiber towels
Process:
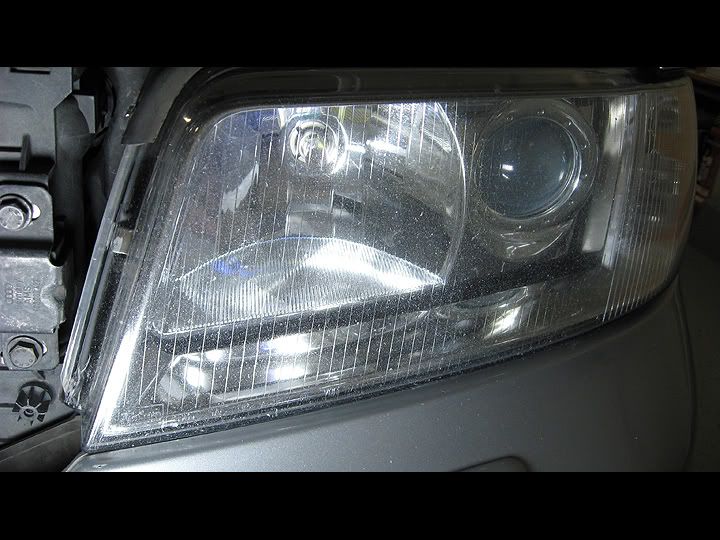
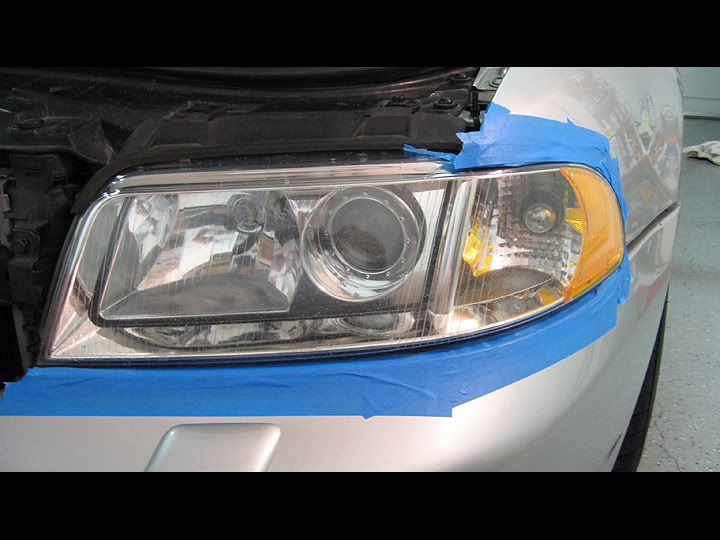
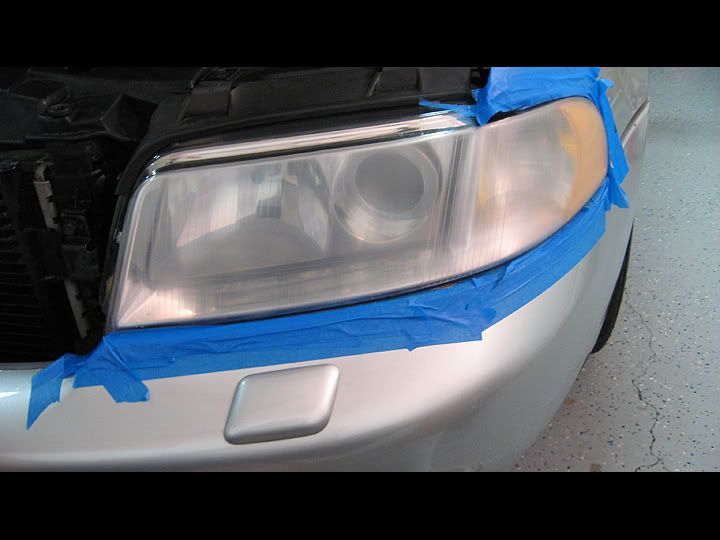
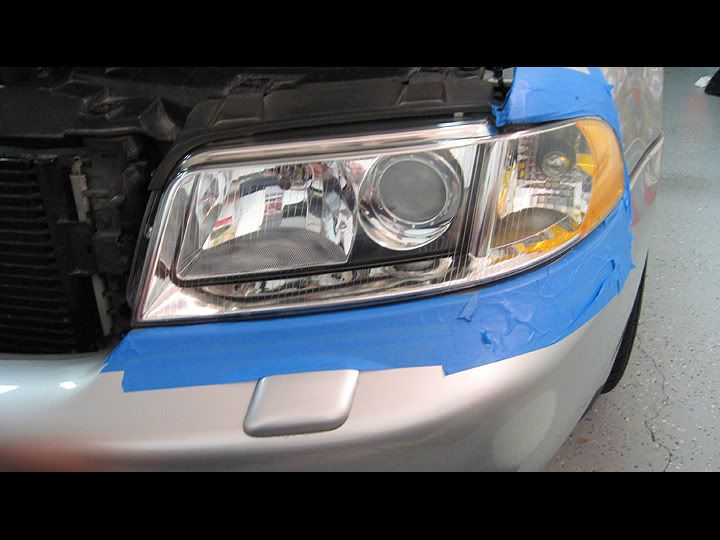
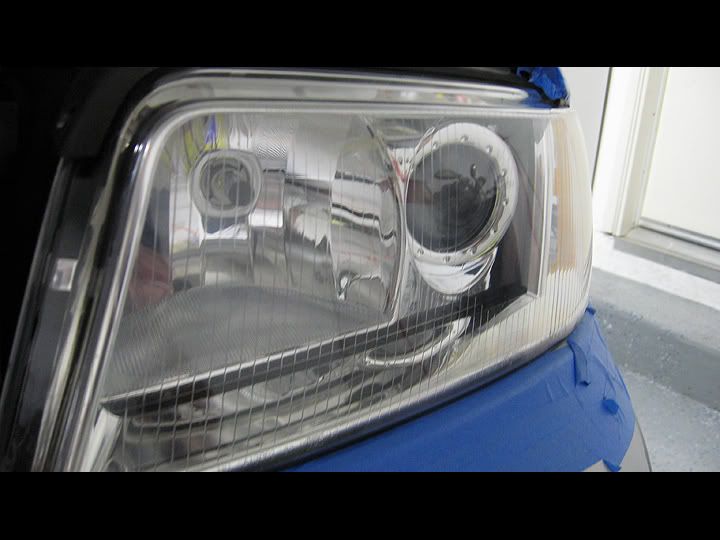
Pics of the headlight before I started. Alot of rock chips, scratches, and alittle
oxidation.

I put sheets of 800, 1200, 1500, and 2500 and let them soak in warm water for thirty
minutes.
I used painters tape to mask off areas of the fender and bumper that touch the headlight.
Definitely don't want to accidentally sratch the paint.
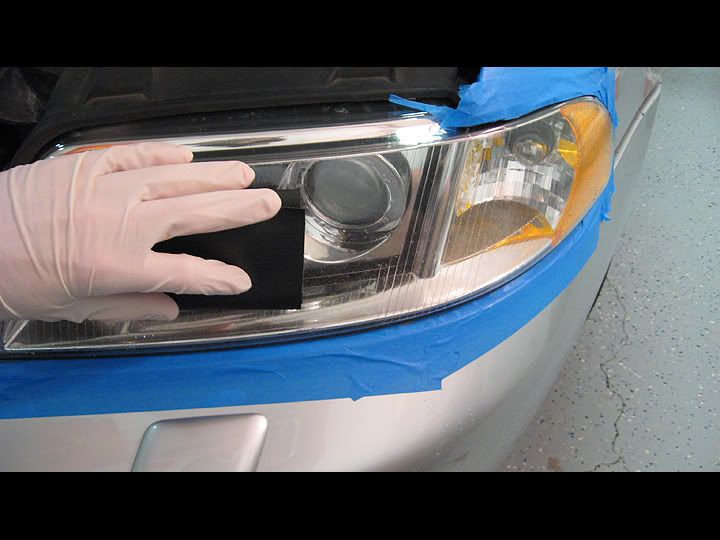
Then I cleaned the headlight really well and wiped it dry with a microfiber towel.
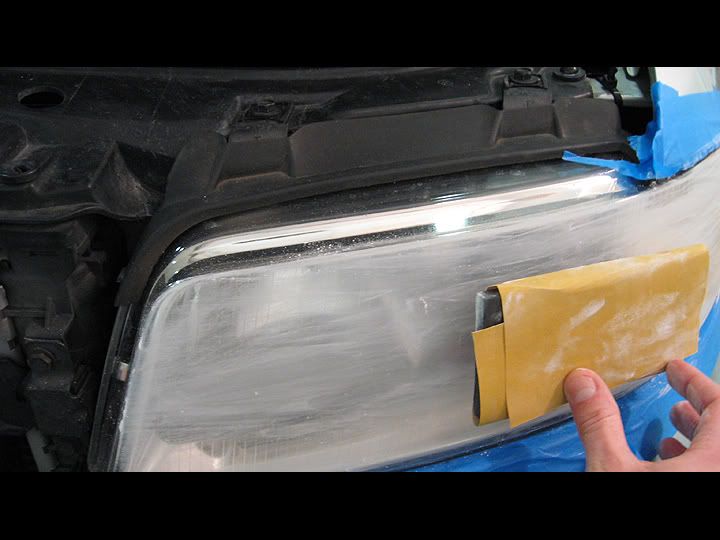
I wrapped 800 grit(dry) around the sponge pad and started sanding the headlight side to side
in uniform strokes.

800 grit wasn't cutting deep enough to get rid of the rock chips so I stepped up to 350
grit(dry). The 350 worked well and took off a good amount of plastic to expose fresh plastic
below. Saved alot of time, 800 would have taken too long.
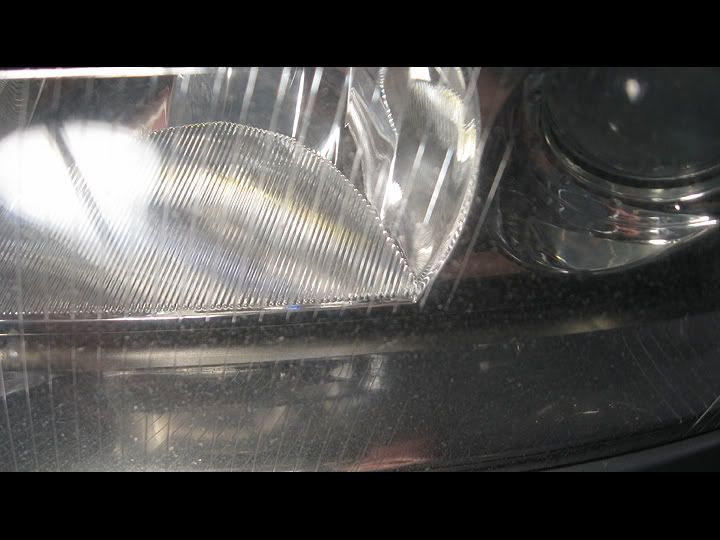
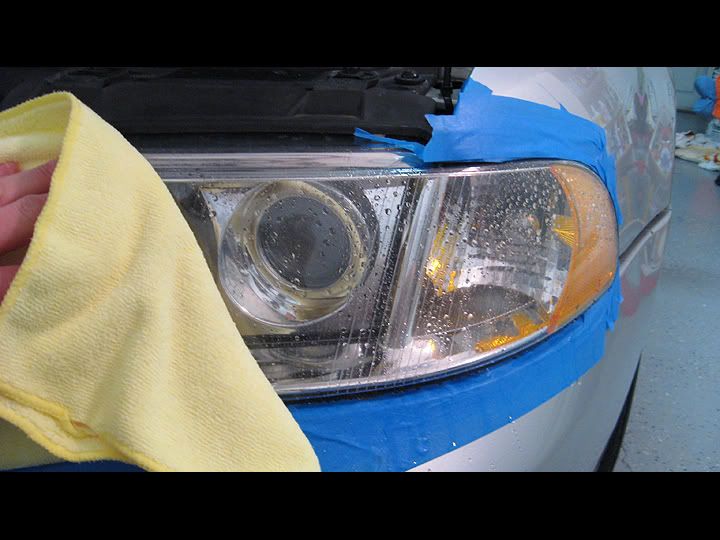
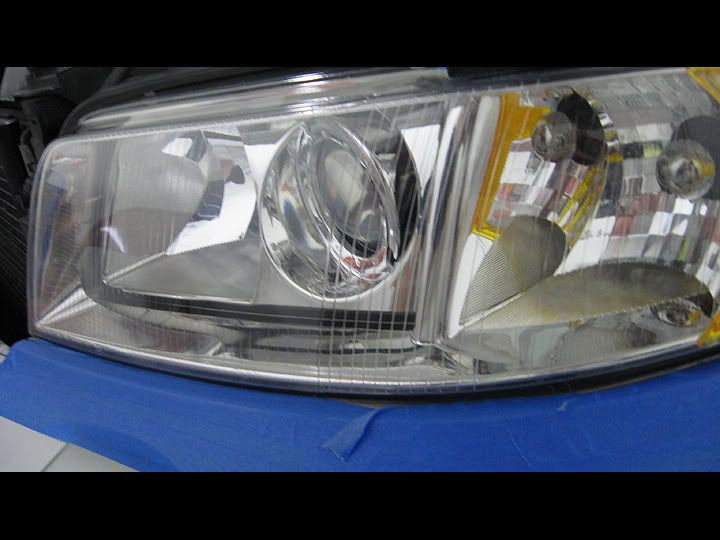
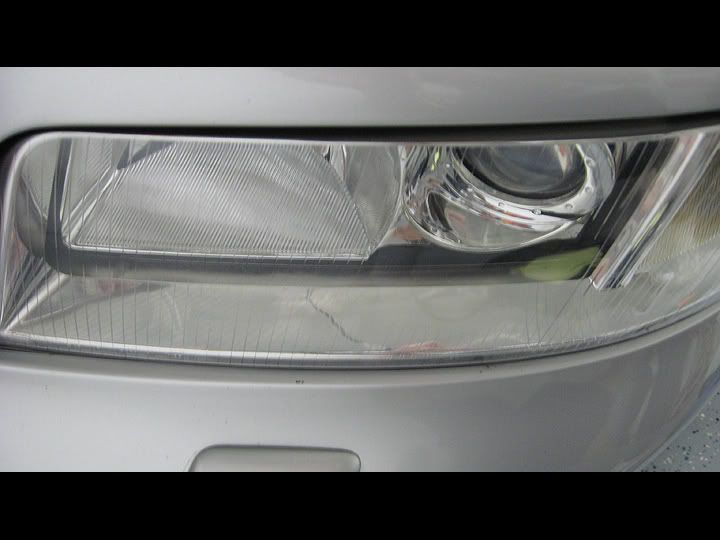
Next I used 800 dry, 800 wet, 1200 wet, 1500 wet, and 2500 wet. This is the healight after
the last stage of 2500. All the wetsanding is done and the headlight is dry ready for
polishing.
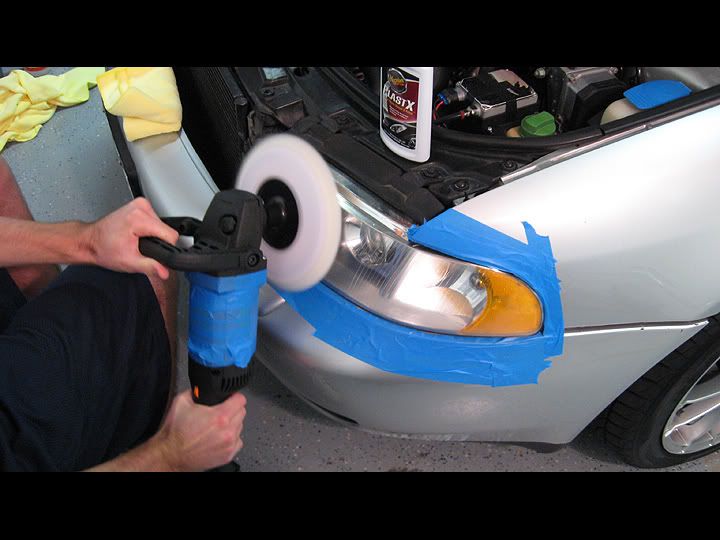
Now time for polishing with Plast X.
I then setup the rotary with a wool polishing pad and set the speed at 1200 for the first
pass. I started polishing small sections at a time using moderate pressure
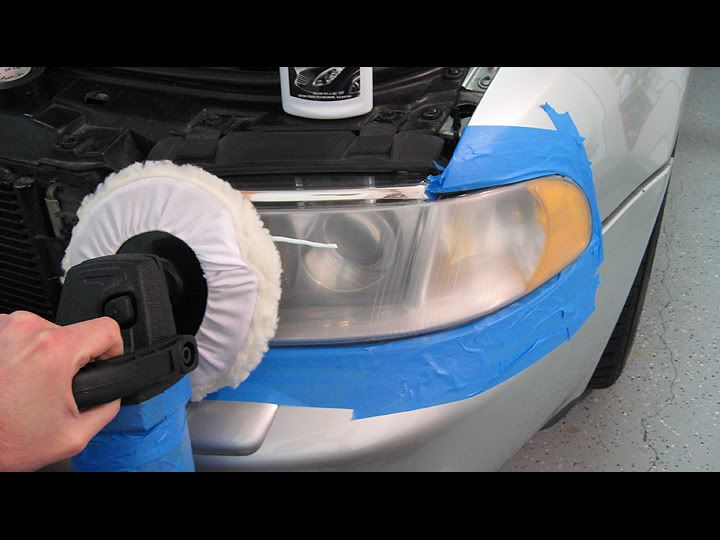
Here's a picture just after one pass with the rotary. Already looking great after one pass.
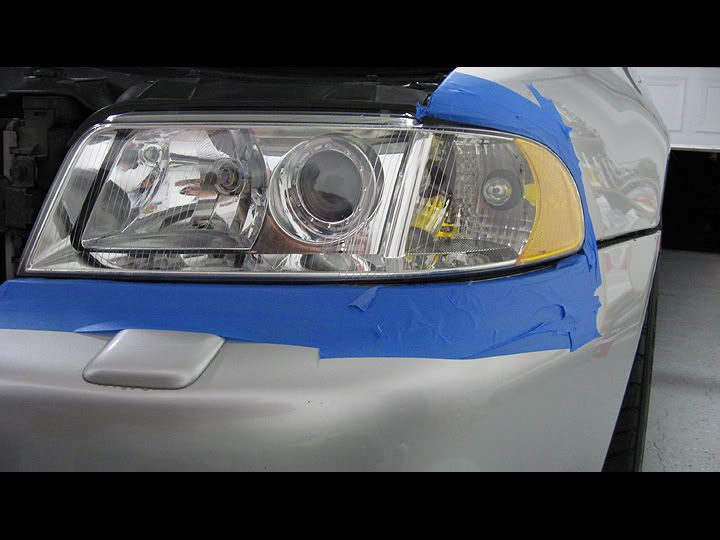
Then I did three more passes with the speed set to 1800
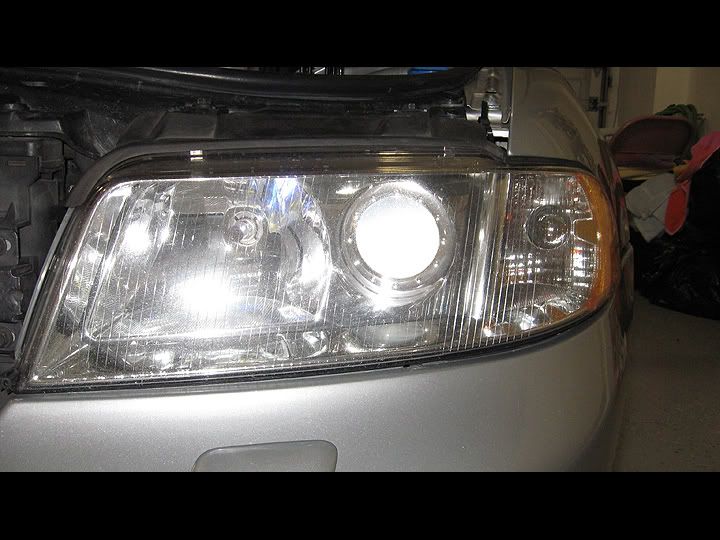
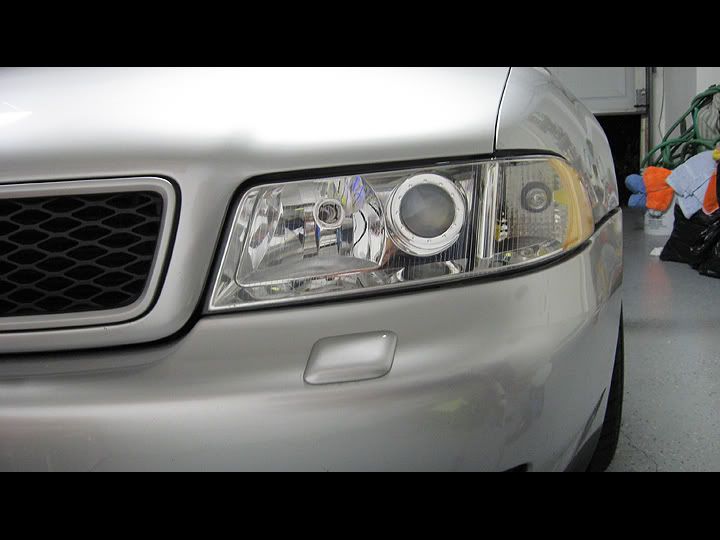
Here the finished headlight pictures. I was extremely happy with how it turned out. Looks
like new.
Danke : Sever
BMW E46